Quick Intro to Web Assembly
Quick Intro to Web Assembly
Seldom heard, Web Assembly often abbreviated as WASM is about to change the way developers create applications for the web. Compared to languages like JavaScript and .NET, WASM is the kid in the bunch. It was created by W3C ( World Wide Web Consortium ) with efforts from Apple, Google, and Microsoft engineers. WASM according to the official project page is a binary instruction format for a stack-based virtual machine. Wasm is designed as a portable target for compilation of high-level languages like C/C++/Rust, enabling deployment on the web for client and server applications. Don’t worry if it doesn’t all make sense right now, for now, let us define WASM as a virtual machine that lets us run native C/C++/Rust code on the web.
You might be asking, “What do we need WASM for anyway?”, I did too and the answer is really short — because it’s faster. To add more context, in today’s world whether we like it or not a majority of web development is done with JavaScript. Sadly, we’re slowly approaching the limit of what JavaScript can do for us on the Web. Languages like C++ and Rust although robust for non-web work are horrendously slow and prone to “crashing” if implemented on the Web. Now, this is where Web Assembly comes in. It takes apart all the unnecessary levels of abstraction and directly compiles native code into a binary format in the name of .wat file and later on a .wasm file (we’ll get to these a little later). At this point, you must be thinking “Oh great! So WASM will replace JavaScript”– no it won’t because, in reality, WASM was made to complement JavaScript and create a super fast web force. Currently, WASM is supported on over 70% of browsers on the web with more support to be added in the near future — it’s important to note that the big four i.e Chrome, Edge, Safari and Firefox all currently support WASM.
Let’s get our hand dirty with some code, for convenience, everything will be done online. Before we dive in I want to explain how everything will work, let’s summarise the whole process down into four steps.
- We’ll write the C++ code
- We’ll compile the C++ code and get a file in the .wasm format
- We’ll export the .wasm file and use it as a module in our Javascript snippet
- We run the JavaScript snippet to utilize the .wasm binary
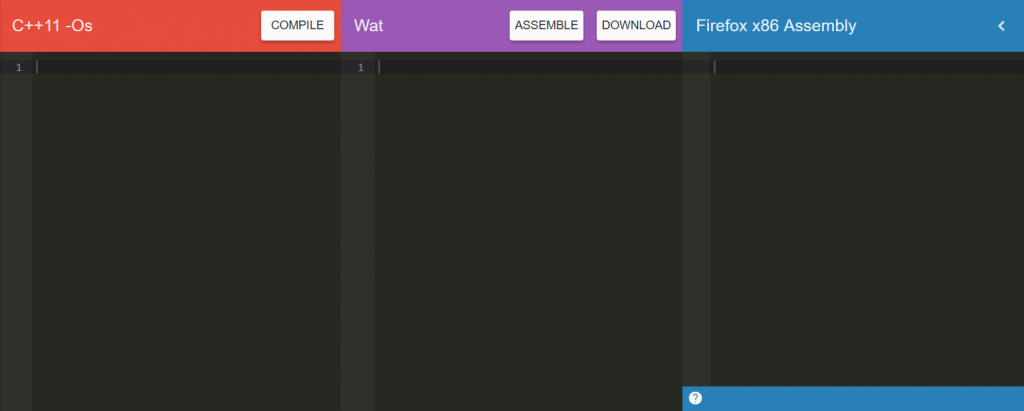
Don’t worry if you haven’t written C++ code before, the function practically explains itself. For this, we will be using a tool called Web Assembly Explorer. It should look something like this.
So we will put together a function to add 12 to any number.
int add_a_dozen(int num) {

return num + 12;

}
Add this function into the red column and click compile. After that, you should see something like this.
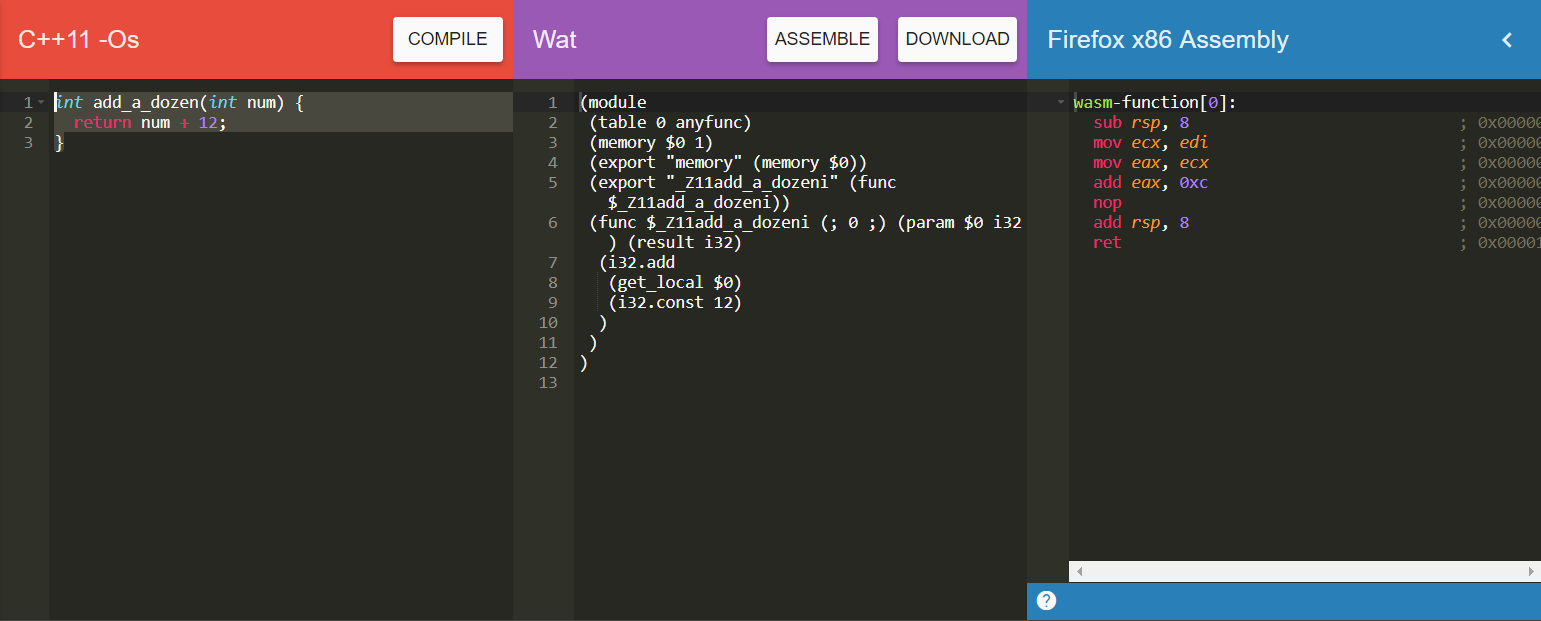
This is where the magic happens, you’ll notice the first column (the red one) has the native C++ code, the second column tilted WAT ( WebAssembly Text Format ) has the contents of our .wat file i.e a human-readable text version of the assembly code in the last column. Yes, I said assembly code — we’re at that low a level. The important things to note here are the lines in the middle column that are getting exported. We have only two things being exported, “memory” which we don’t need to pay much attention to in this post and “_Z11add_a_dozeni” the name of our function with “_Z11” and “i” added during the compilation. Take note of “_Z11add_a_dozeni” as we will need this later when doing the JavaScript bit. Click download and this should save a .wasm file, rename this file to dozen.wasm and keep in an empty directory.
We’re done with the WebAssembly Explorer for now. We need to create two files in the same directory as our dozen.wasm, an index.html with some boilerplate code and an export.js. Add the snippet below to your export.js file.
let add_a_dozen;

function loadWebAssembly(fileName)

{

**return** fetch(fileName)

.then(response => response.arrayBuffer())

.then(buffer => WebAssembly.compile(buffer))

.then(module => {**return** new WebAssembly.Instance(module) });

};

loadWebAssembly(‘dozen.wasm’)

.then(instance => {

add_a_dozen = instance.exports._Z11add_a_dozeni;

console.log(‘Done compiling!’);

});
Note: Don’t forget to add in your index.html.
Now run index.html in your browser and use the inspect element function to access your console. Try out the function we just defined and you should get this
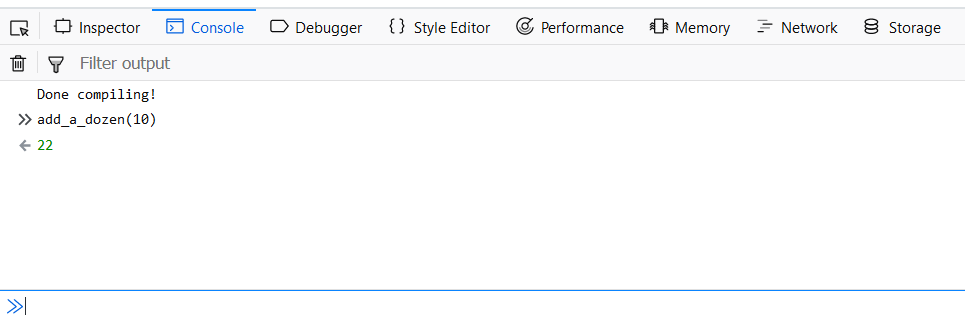
It seems trivial but if you think of it, we just ran a C++ function on the web. There are so many awesome things coming with WASM, try out this cool demo and a post Mozilla put up on it. You can also find the code for this project here.