Using GraphQL Mutations in Vue.js
Using GraphQL Mutations in Vue.js
In my last post, we started out with a basic application using Vue.js in the front end and a Hasura powered Postgres database over GraphQL in the backend.
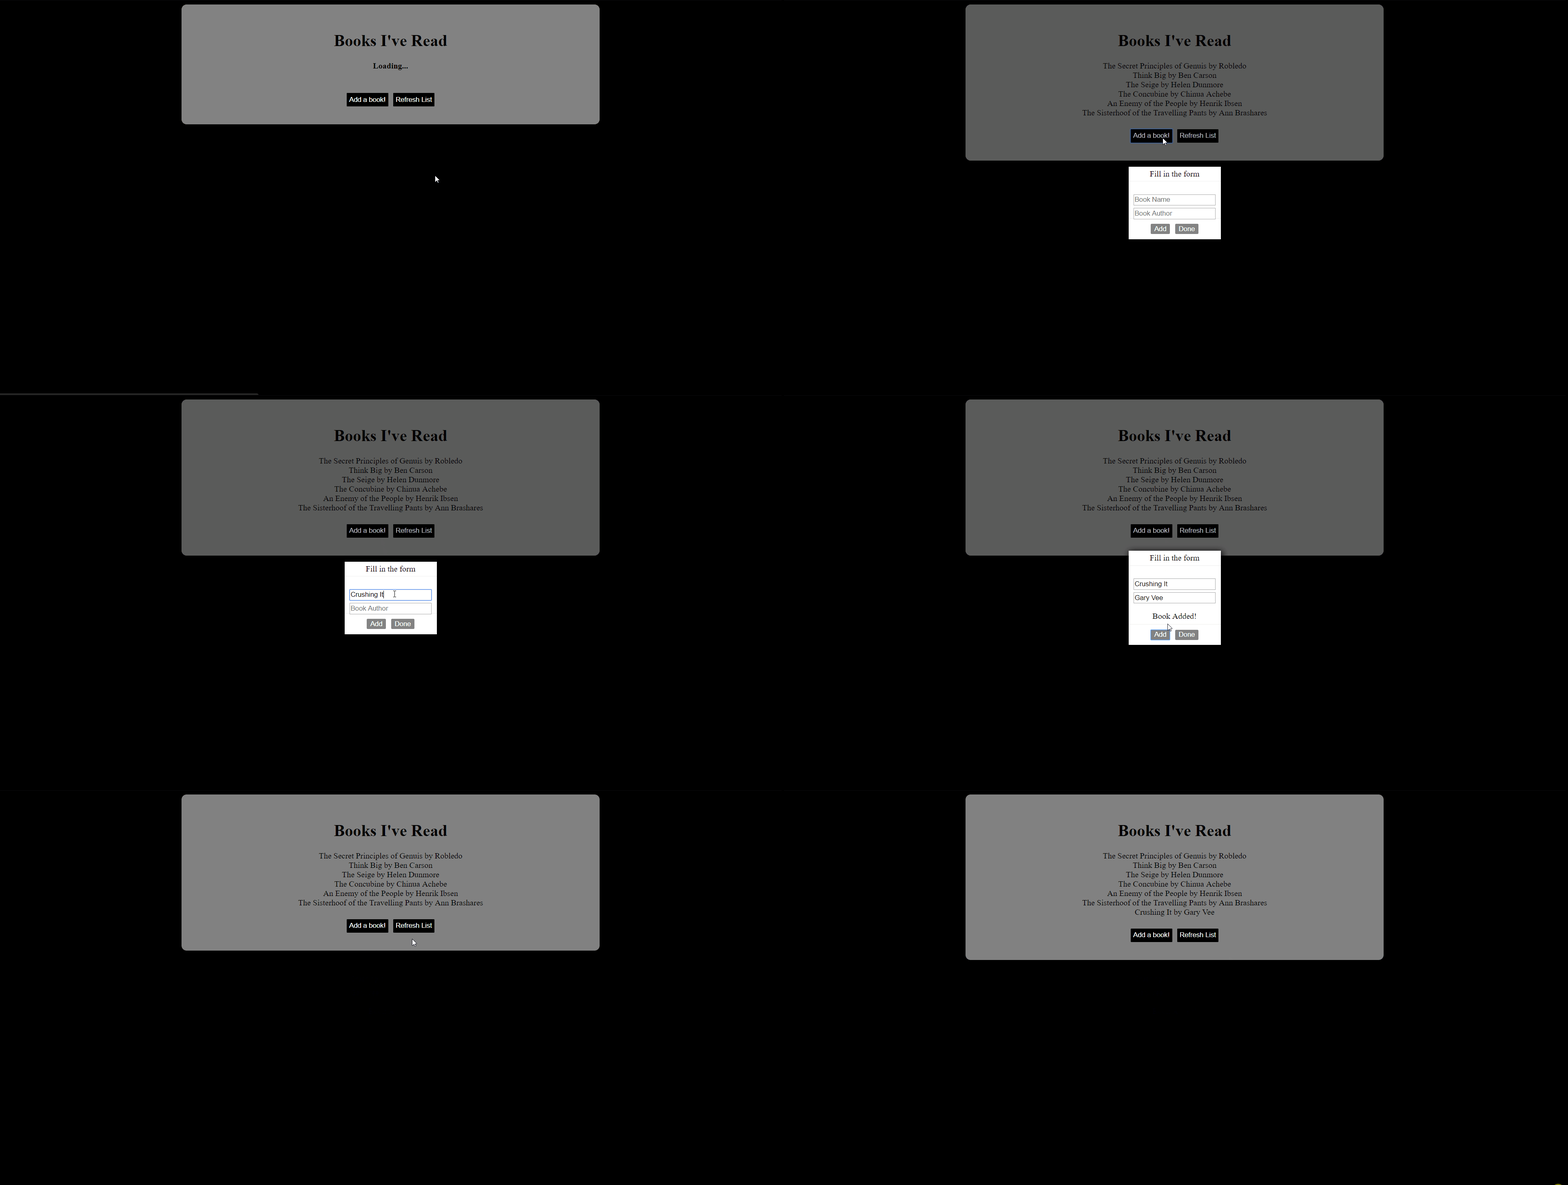
That’s neat and all but very basic. All we could do was query the database for books I’ve read and that’s it. Like I mentioned at the end of the last post, as we go on we’ll get deeper into different Vue and GraphQL concepts. Over the past few days, I added some functionality to the app and this is what it looks like now.

Now I can add all my favorite books through the form on the modal that pops up when I click the Add a book button. Click Refresh List and you should see the list of books updated with your latest read firmly placed at the bottom 😁
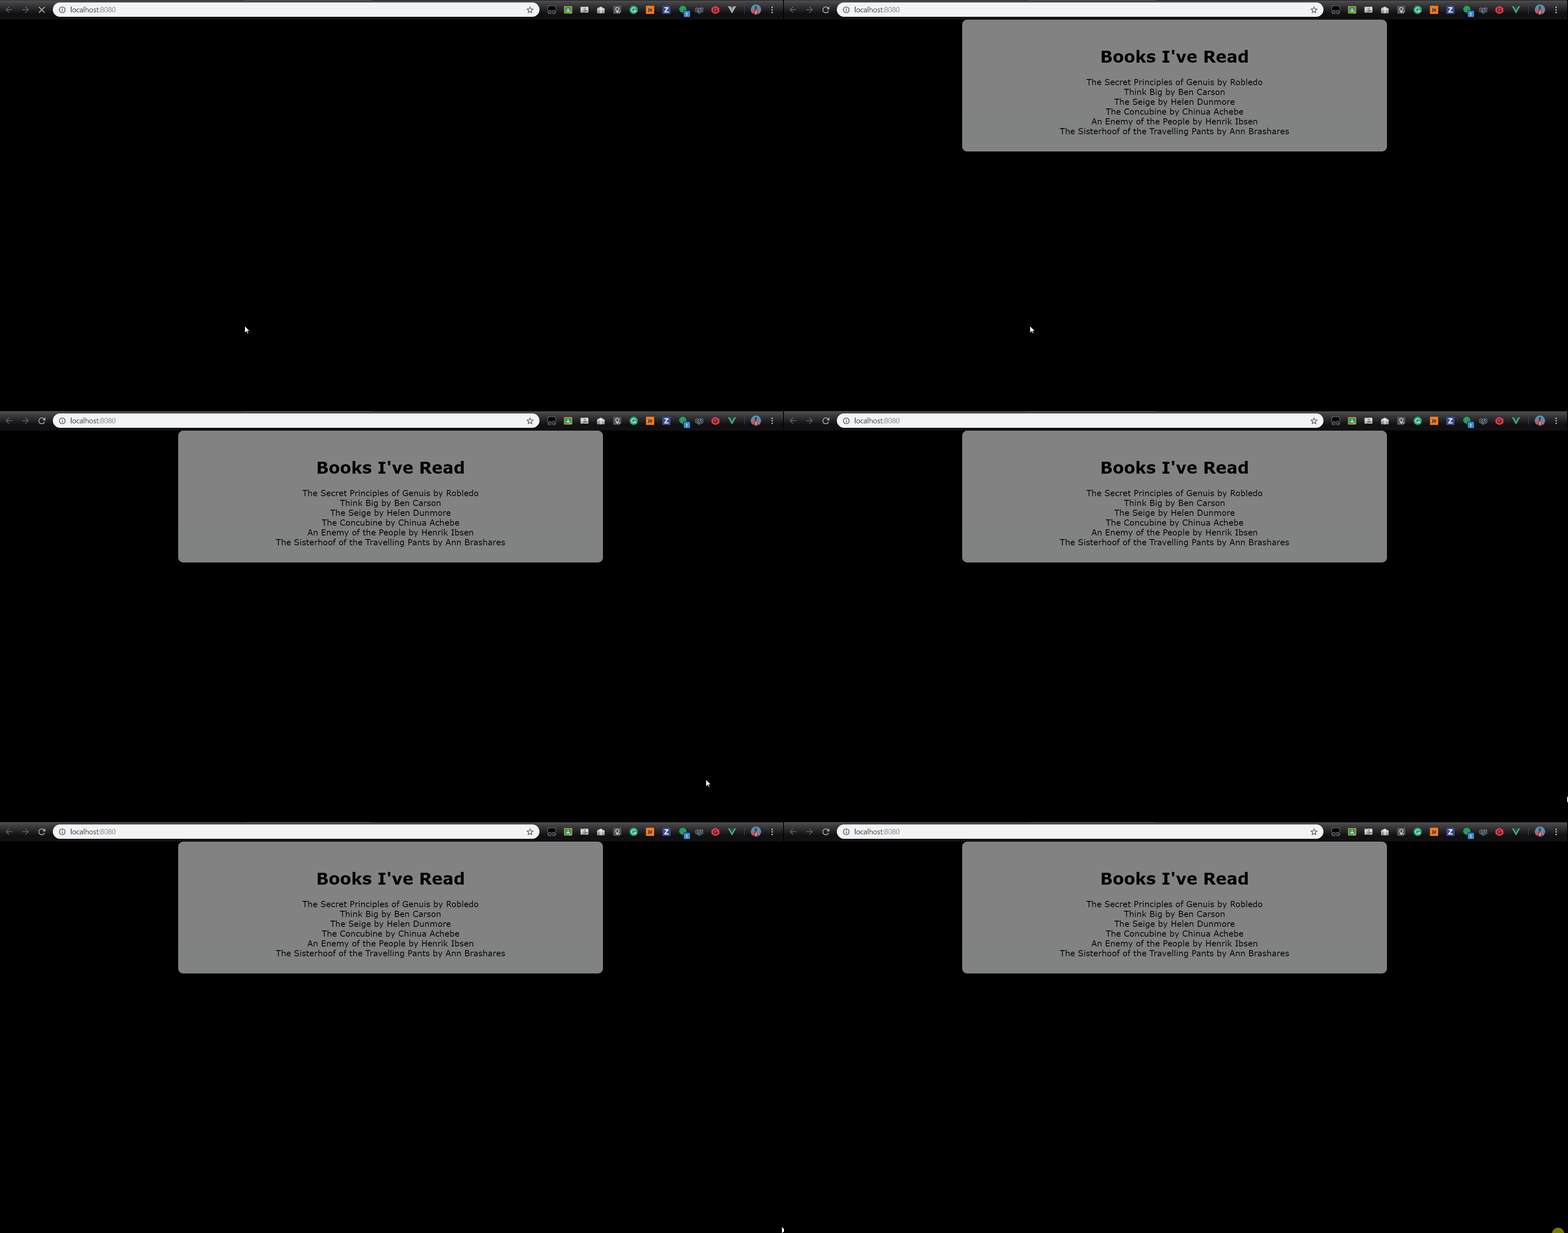
We’ll continue where we left off with the previous post. As usual, I’ll divide the post into the frontend and the backend portions and go over the changes I made. Previously, the app looked something like this.

The frontend bit
The aim here was to enable us to add a new book by entering the data into a form. It would not make sense to open up a whole new page just to do this, considering that, I put up a modal that pops up when a button is clicked. In src > components, create a new file called Modal.vue and paste the following code into it.
<script>
import { ADD_BOOK_MUTATION } from "../constants/graphql";
export default {
  name: "modal",
  data: () => ({
    author: '',
    name: '',
  }),
  methods: {
    close() {
      this.$emit("close");
    },
    addBook() {
      document.getElementById('addedText').style.display = "block";
      this.$apollo.mutate({
        // Mutation
        mutation: ADD_BOOK_MUTATION,
        // Parameters
        variables: {
          author: this.author,
          name: this.name,
        }
      });
    }
  }
};
</script>

<template>
  <transition name="modal-fade">
    <div class="modal-backdrop">
      <div class="modal">
        <header class="modal-header">
          <slot name="header">
            Fill in the form
          </slot>
        </header>
        <section class="modal-body">
          <slot name="body">
          <input
              placeholder="Book Name"
              type="text"
              class="input"
              name="name"
              v-model="name">
          <br>
          <input
              placeholder="Book Author"
              type="text"
              class="input"
              name="author"
              v-model="author">
              <div class="added-text">
                <p id="addedText" style="display:none;">Book Added!</p>
              </div>
          </slot>
        </section>
        <footer class="modal-footer">
            <slot name="footer">
              <button
                type="button"
                class="btn-green"
                @click="addBook()">
                Add
            </button>
            <button
                type="button"
                class="btn-green"
                @click="close">
                Done
            </button>
          </slot>
        </footer>
      </div>
    </div>
  </transition>
</template>

<style>
.modal-fade-enter,
.modal-fade-leave-active {
  opacity: 0;
}
.modal-fade-enter-active,
.modal-fade-leave-active {
  transition: opacity 0.5s ease;
}
.modal-backdrop {
  position: fixed;
  top: 0;
  bottom: 0;
  left: 0;
  right: 0;
  background-color: rgba(0, 0, 0, 0.3);
  display: flex;
  justify-content: center;
  align-items: center;
}
.modal {
  background: #ffffff;
  box-shadow: 2px 2px 20px 1px;
  overflow-x: auto;
  display: flex;
  flex-direction: column;
}
.modal-header,
.modal-footer {
  padding: 5px;
  text-align: center
}
.modal-header {
  border-bottom: 1px solid #eeeeee;
  color: #000;
  justify-content: space-between;
}
.modal-footer {
  border-top: 1px solid #eeeeee;
  justify-content: flex-end;
}
.modal-body {
  position: relative;
  padding: 20px 10px 0px 10px;
}
.btn-close {
  border: none;
  font-size: 20px;
  padding: 20px;
  cursor: pointer;
  font-weight: bold;
  color: #000;
  background: transparent;
  text-align: right;
}
.btn-green {
  color: white;
  background: #828282;
  border: 1px solid #828282;
  border-radius: 2px;
  margin: 5px;
}
.input {
  margin-top: 5px;
}
</style>
view raw
Modal.vue hosted with ❤ by GitHub
The Modal consists of three sections:
- A header with some text in it
- A body with the form input fields
- A footer with two buttons
We’ll go deeper into the body and footer soon enough. Firstly, we need to get the modal visible in the App. The App.vue file contains the template that makes up a majority of the webpage we see. In the App.vue file, we need to add a few things — the actual modal component, a button that makes the modal visible and another button one that refreshes the page to see the updated list of books. When we add these, your App.vue file should look this.
<template>
  <div id="app" class="background">
    <div >
      <h1> Books I've Read</h1>
    <book-list></book-list>
    <br>
    <button
      type="button"
      class="btn"
      @click="showModal"
    >
      Add a book!
    </button>

    <modal
      v-show="isModalVisible"
      @close="closeModal"
    />
    <button
      type="button"
      class="btn"
      @click="reload()"
    >
      Refresh List
    </button>
    </div>
  </div>
</template>

<script>
import BookList from "./components/BookList";
import Modal from "./components/Modal.vue";
export default {
  name: "app",
  components: {
    BookList,
    Modal
  },
  data() {
    return {
      isModalVisible: false
    };
  },
  methods: {
    showModal() {
      this.isModalVisible = true;
    },
    closeModal() {
      this.isModalVisible = false;
    },
    reload() {
      location.reload();
    }
  }
};
</script>

<style>
.background {
  background: #828282;
  margin: auto;
  text-align: center;
  border-radius: 10px;
  padding: 2%;
  width: 50%;
  height: 50%;
}
.btn {
  color: white;
  background: #000;
  border: 1px solid #828282;
  border-radius: 2px;
  margin: 4px;
  padding: 5px;
}
</style>
view raw
App.vue hosted with ❤ by GitHub
On a few lines, you notice "@click", this component is extremely useful and will be used more in other files — when a mouse click event occurs, "@click" calls the method we define on the right of the assignment operator. In App.vue, we use it to call reload() to get the updated list of books and showModal() to make the modal appear. We’ll also use this to fire up our mutations later on.
👩💻👩💻👩💻👩💻
The backend bit
This time we barely touch our Hasura API Explorer. The goal for the backend is to add the books we enter into the form in the database. As we all know, our backend is a Postgres database which we access to through a GraphQL endpoint with the help of Hasura. To achieve our goal, we use mutations which are a feature of GraphQL that give us insert, update and delete functionality. The standard format for mutations is shown below.
mutation mutation-name {
 mutation-type_table-name (
 expressions to identify row and changing data
 )
 affected_rows
}
Checking back at our schema, we have a books table with the following columns.
- id
- name
- author
Given that id is auto incremented, we’ll only enter the name and author. Our mutation should look like this:
mutation addBook($author: String!, $name: String!){
 insert_books(objects: [{name: $name, author: $author}]) {
 affected_rows
 }
 }
We’re calling our mutation addBooks, and you’ll notice something a little weird with the format, after the mutation name is a group of variables in parentheses. These are mutation variables and enable us to dynamically add data with every mutation as opposed to hardcoding it. We need to paste the mutation shown above into our graphql.js like we did the books query in the previous post. The resulting graphql.js file will look like this.
import gql from 'graphql-tag'

export const ALL_BOOKS_QUERY = gql`
  query books {
    books {
        id
        author
        name
    }
  }
`;

export const ADD_BOOK_MUTATION = gql`
    mutation addBook($author: String!, $name: String!){
        insert_books(objects: [{name: $name, author: $author}]) {
            affected_rows
  }
    }
`;
That’s it with the backend. 👩💻
🔩 Gluing everything together 🔩
We’ve set up the Modal and Mutations and now we have to make sure the inputs of the form become the variables of the mutation. In our Modal.vue file, in the <input> tag we have a special component called v-model that binds that input from the form to a variable called name which in the script tag of the same file we export and use in graphql.js as a mutation variable. Again we see the use of the "@click”event trigger to call the addBook mutation, which adds our form data into the database. Check back with the API Explorer and you will still see the data added ✨. It’s really shaping up to be a great app.. well not yet but soon 😉

You can find the latest code for this in the GitHub repository below.
malgamves/dovue *A quickly changing Vue project.
Since I finished this portion, I’ve had time to think about a few things that could be done better and I’m really looking forward to the next post :D I’m also working on a post to explain what I’m actually planning on building, Spoilers: I’ll need your help ya’ll Till then! Ciao 👋
