Vue x Hasura GraphQL
Vue x Hasura GraphQL
A match made in heaven
There’s been a lot of fuss over Vue.js and GraphQL lately so I decided to jump on the hype train.
Ok so why didn't y'all tell me about GraphQL sooner? 🤦♂️
— 𝙳𝚊𝚗𝚒𝚎𝚕 𝙼𝚊𝚍𝚊𝚕𝚒𝚝𝚜𝚘 𝙿𝚑𝚒𝚛𝚒 (@malgamves) September 18, 2018
This week I promised myself that I’d have something up, no matter how basic, it should at least demonstrate the use of both technologies.
So I came up with this Web App (forgive my horrible design).
 A simple Web App that displays some books I’ve read.
I was serious when I said I would build something basic. I implemented the frontend of the app using Vue.js while I did the backend with Hasura which offers real-time GraphQL for Postgres databases. We’ll go through how everything came into place.
The frontend bit
Like I said above, I did this portion in Vue.js, we’d have to install it before we can go on and to do that we’ll need node.js on our system. Once we’ve got node installed, enter the following command to install the vue clinpm i -g @vue/cli. To set up a new Vue project, we enter the following command vue create myapp, replace myapp with whatever you want to name this app and click default when prompted to pick a preset. When done initializing, your folder structure should resemble the one below.
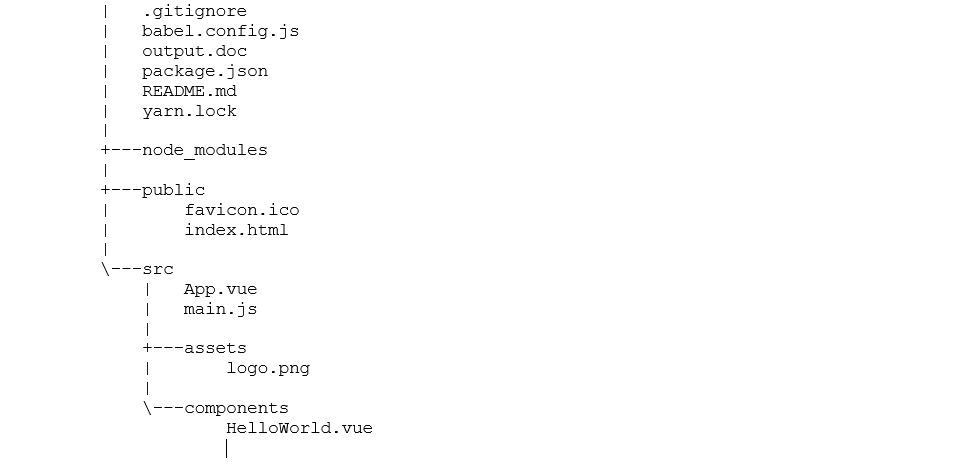
When the app is done initializing, cd
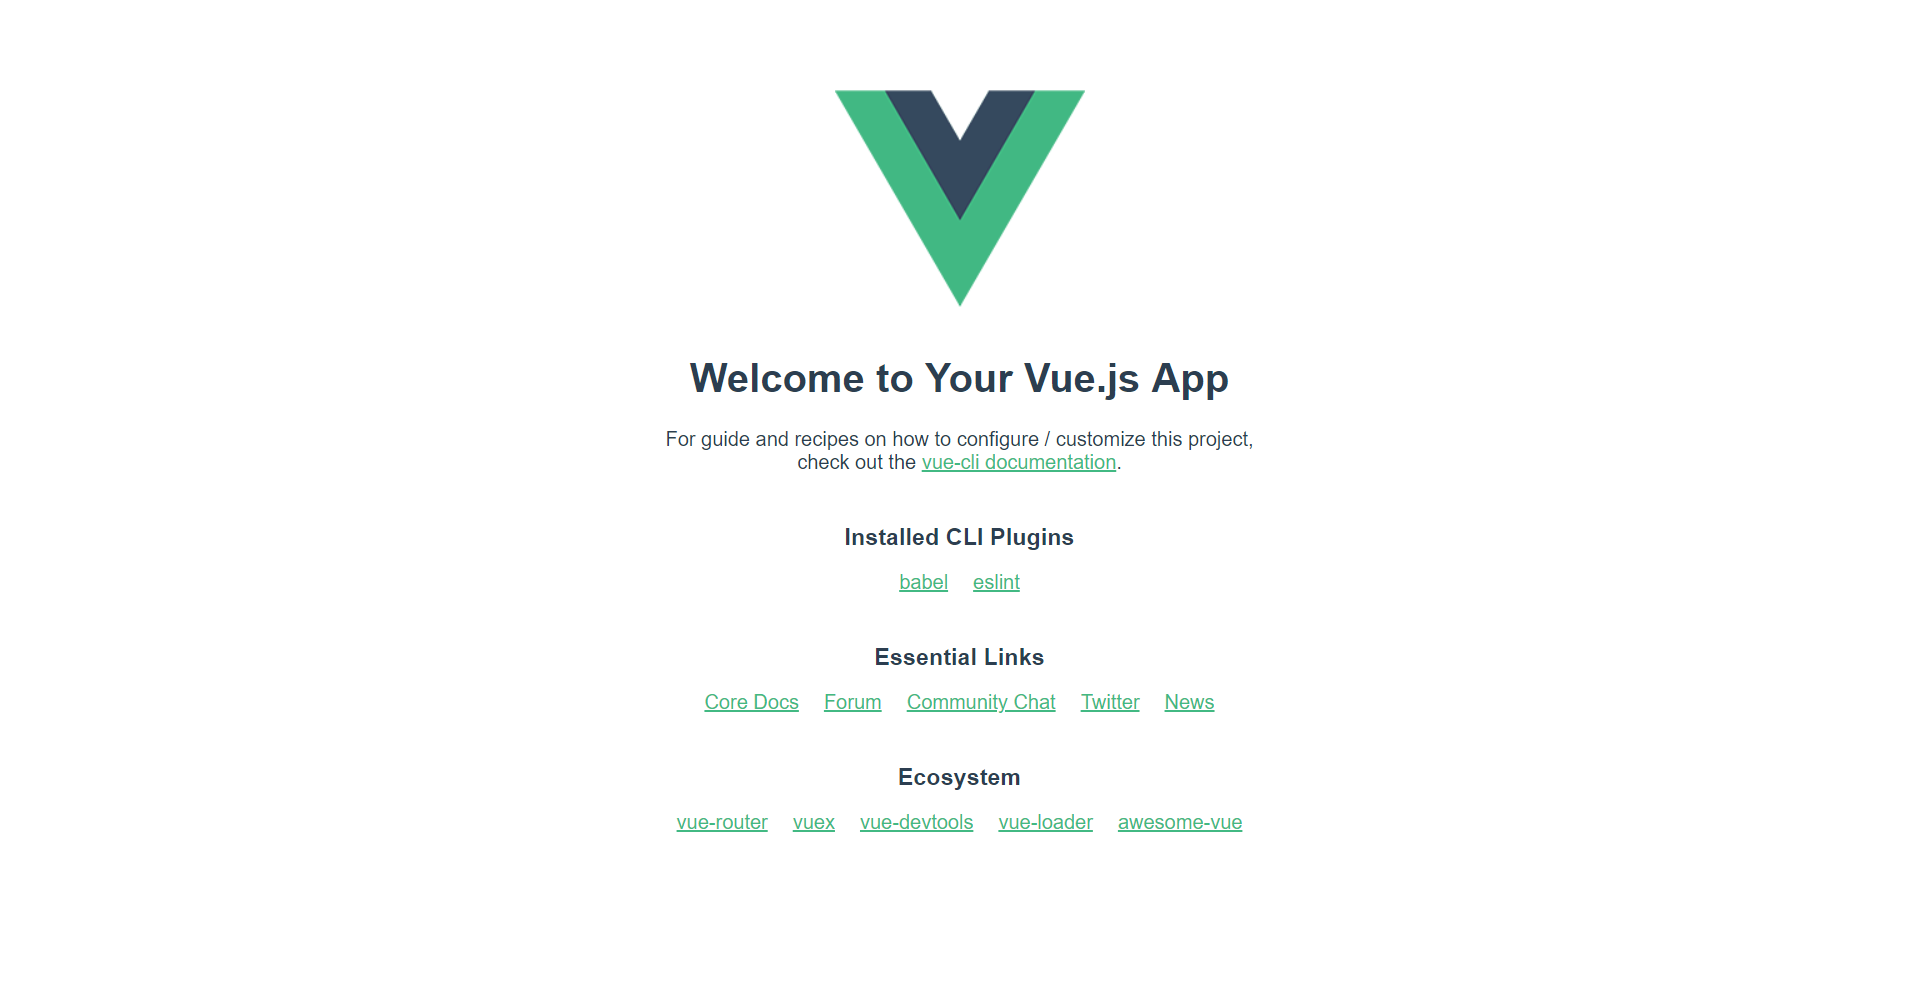 First Vue App
That’s it with the frontend 🎉(for now).
The backend bit
Hasura really came in handy for the backend of this little project. Head over to this page and click Deploy to Heroku — you’ll have to sign into your existing Heroku account or create a new one to continue. When you’re logged in, you’ll have to give your app a unique name after which you can click Deploy. Once it’s deployed, head over to
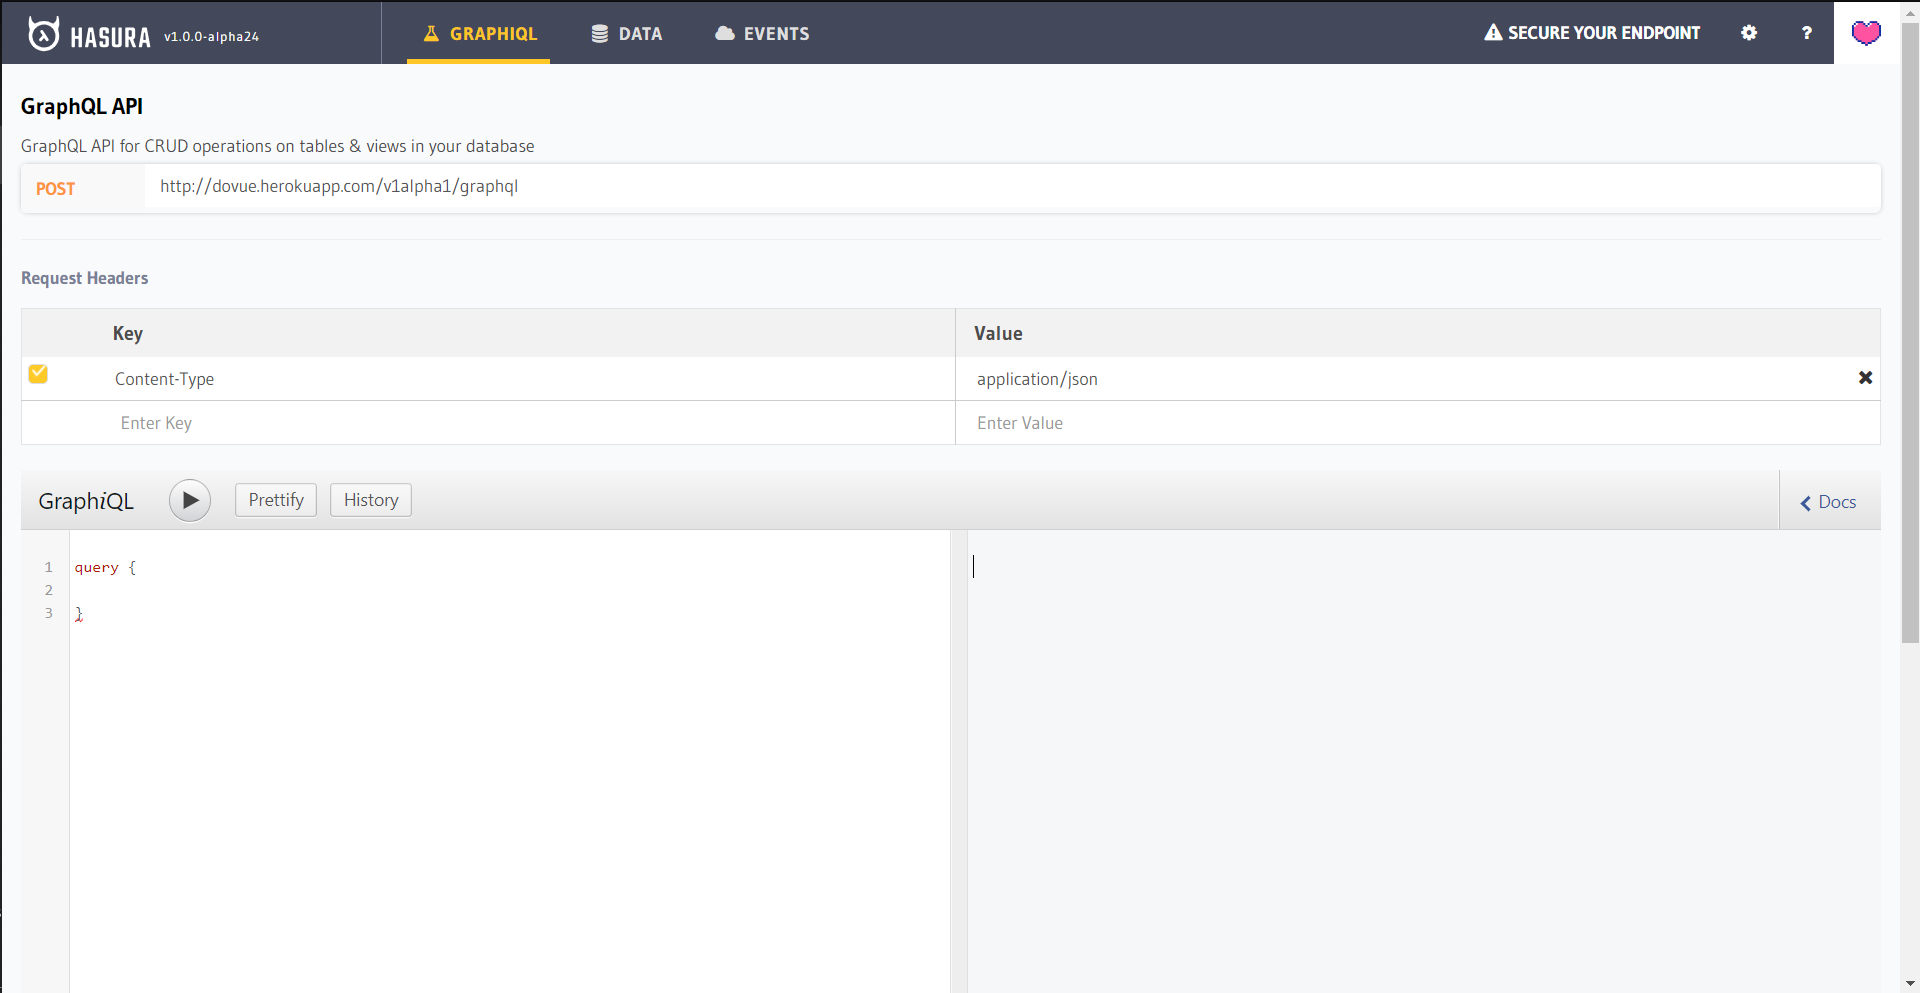
A little bit into Hasura, what it does is that it lets us access and perform operations on a Postgres database in real-time using GraphQL. They basically give us a Postgres database and a GraphQL endpoint to access it with a one-click Heroku deployment, pretty neat!
The API Explorer lets us play around with our database in the data section and test queries, subscriptions and mutations in the GraphiQL section. Let’s navigate to the Data section of the API Explorer and define the schema of our database. Create a table called booksand go on to create the following columns with these configurations.
- id, Integer (AutoIncrement), Unique
- name, text
- author, text
- Set idas the primary key
After this, you can click create to make the database table.
Now that we’ve got a bookstable, we’ve got to insert data into it. Under the tables section on the left side of your screen, click on the books table and you should see the screen below.
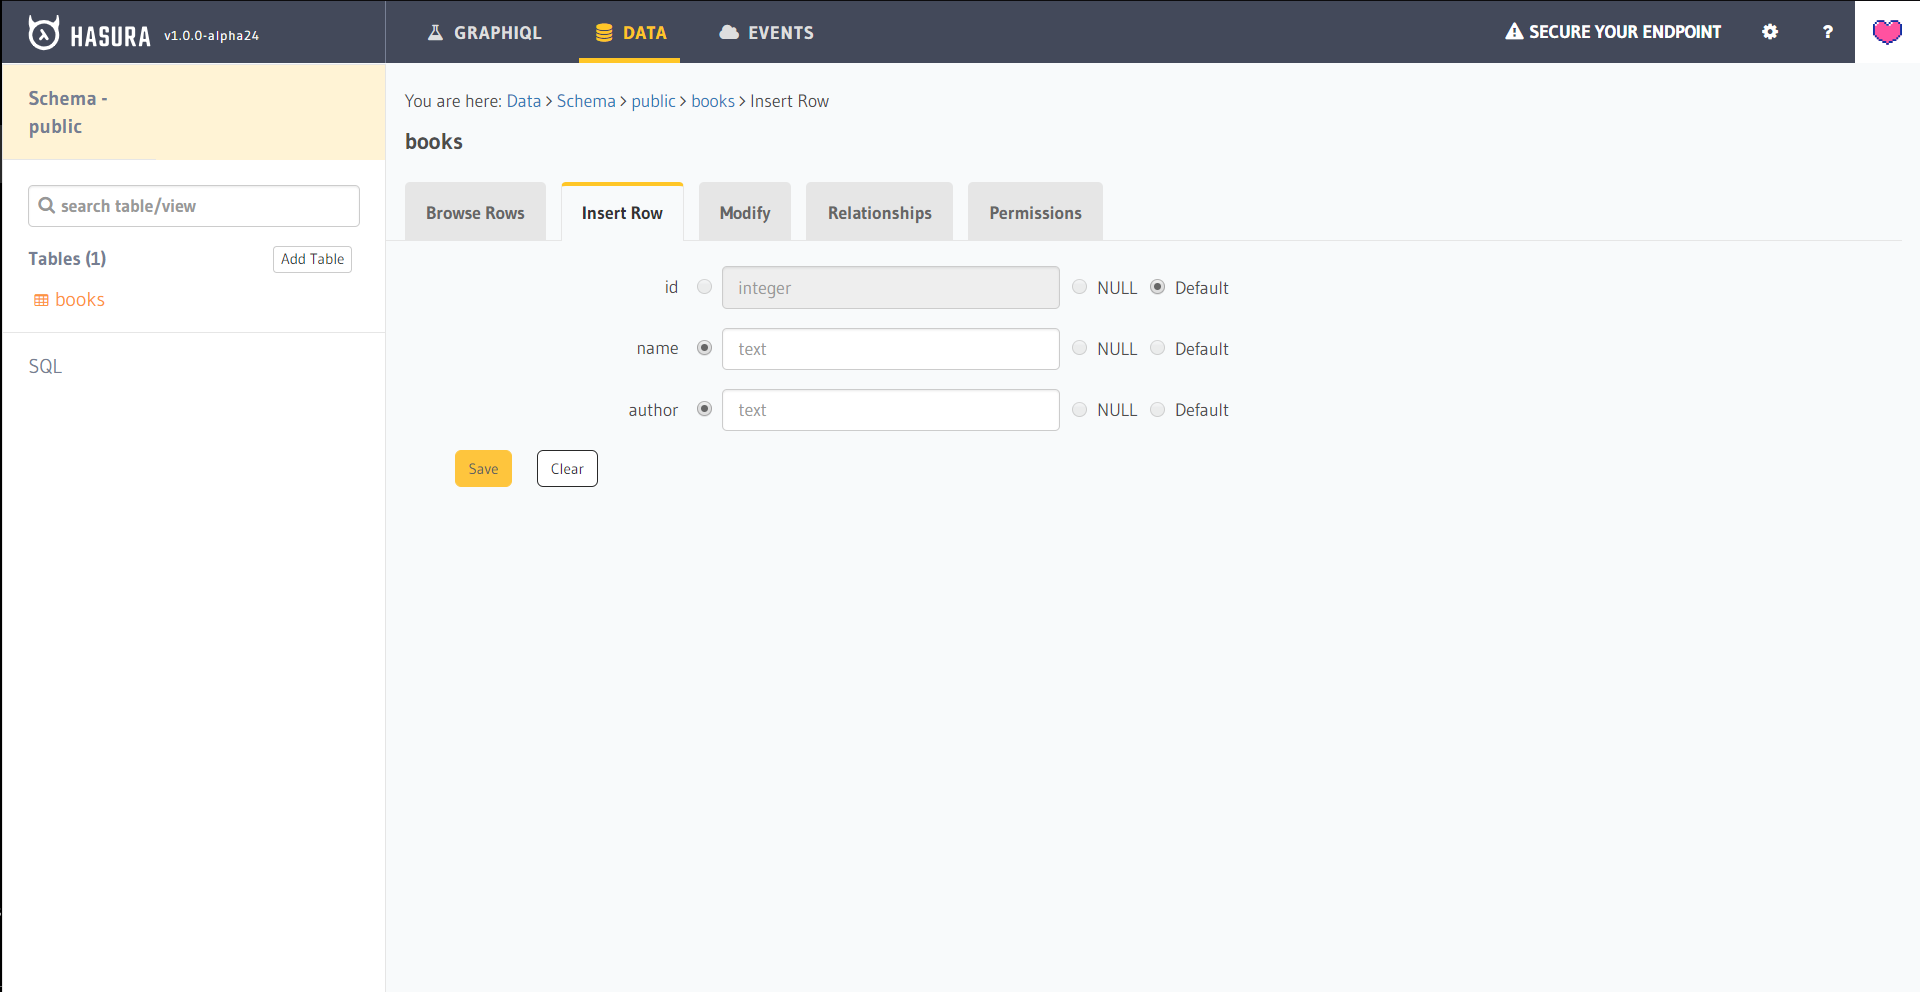 Inserting Data
In the name field, enter the name of your favorite book and likewise with its author. The id is auto-generated so we don’t need to edit that. Feel free to enter as many books as you like, when you’re done, that’s it with our backend.
Putting everything together
The way things are right now, we’ve got a Vue App and Postgres database that we can query using GraphQL with the help of Hasura, now we’ve got to put it all together and display your favorite books in the app.
To use GraphQL in Vue, we need to install a few packages first. Run the following command to install them npm install --save vue-apollo graphql apollo-client apollo-link apollo-link-http apollo-cache-inmemory graphql-tag
After that, we add the packages to our main.js which should look like this now.
// 1
import { ApolloClient } from 'apollo-client'
import { HttpLink } from 'apollo-link-http'
import { InMemoryCache } from 'apollo-cache-inmemory'
import Vue from 'vue'
// 2
import VueApollo from 'vue-apollo'

import App from './App'

Vue.config.productionTip = false

// 3
const httpLink = new HttpLink({
  // You should use an absolute URL here
  uri: '<Your Hasura URI here>'
})

// 4
const apolloClient = new ApolloClient({
  link: httpLink,
  cache: new InMemoryCache(),
  connectToDevTools: true
})

// 5
Vue.use(VueApollo)

// 6
const apolloProvider = new VueApollo({
  defaultClient: apolloClient,
  defaultOptions: {
    $loadingKey: 'loading'
  }
})

/* eslint-disable no-new */
new Vue({
  el: '#app',
  // 7
  apolloProvider,
  render: h => h(App)
})
view raw
main.js hosted with ❤ by GitHub
In the Hasura API Explorer under the GraphiQL section copy your endpoint URI and paste it on line 16 of your main.js file replacing the text
In src > components, delete the HelloWorld.vue component and create two new components in the same folder called BookItem.vue and BookList.vue
In the src folder, create a new folder called constants, in src >constants, create a new file called graphql.js This file will store all our GraphQL queries. The code for graphql.js, BookItem.vue and Booklist.vue is shown below.
<template>
  <div>{{book.name}} by {{book.author}}</div>
</template>

<script>
  export default {
    name: 'BookItem',
    props: ['book']
  }
</script>
and
<template>
  <div>
    <!-- 1 -->
    <h4 v-if="loading">Loading...</h4>
    <book-item
      v-for="book in books"
      :key="book.id"
      :book="book">
    </book-item>
  </div>
</template>

<script>
  // 2
  import { ALL_BOOKS_QUERY } from '../constants/graphql'
  import BookItem from './BookItem'
  export default {
    name: 'BookList',
    data () {
      return {
        // 3
        books: [],
        loading: 0
      }
    },
    components: {
      BookItem
    },
Next up we edit our App.vue file which should look like this.
<template>
  <div id="app" class="background">
    <div >
      <h1> Books I've Read</h1>
    <book-list></book-list>
    </div>
  </div>
</template>

<script>
  import BookList from './components/BookList'
  export default {
    name: 'app',
    components: {
      BookList
    }
  }
</script>

<style>
  .background {
    background: #828282;
    margin: auto;
    text-align: center;
    border-radius: 10px;
    padding: 2%;
    width: 50%;
    height: 50%;
  }
</style>
In BookItem.vue, we interpolate the response from our GraphQL query. We then use the single BookItem component in the BookList.vue file with the help of the
The final app
You can find the complete app in this GitHub repository. It’s all really cool! I was amazed at how easy everything was to set up. Evident in this tweet.
@vuejs x @HasuraHQ is looking pretty sharp.
— 𝙳𝚊𝚗𝚒𝚎𝚕 𝙼𝚊𝚍𝚊𝚕𝚒𝚝𝚜𝚘 𝙿𝚑𝚒𝚛𝚒 (@malgamves) October 17, 2018
Two technologies relatively easy to get up and running.
Can building Web Apps get any smoother?
Stick in some Actions by @github for that seamless deployment.
It's a good time to be developer 😎
I’ll be doing this a lot so let's call this Part 1 of an x post series on Vue and GraphQL. In this post, we only dealt with GraphQL queries and a single page Vue web app. As the bigger project unfolds, we’ll go over mutations and subscriptions in GraphQL and routing in Vue. Till the next post 👋